

Solar screens are an affordable and effective way to reduce heat, block UV rays, and improve energy efficiency in your home. By installing them on the outside of your windows, you can keep indoor spaces cooler, protect furniture from sun damage, and even lower your energy bills. Making your own solar screens is a simple DIY project that requires just a few tools, some basic materials, and a little time. In this guide, you’ll learn exactly how to measure, build, and install solar screens for a more comfortable and cost-efficient home.
Why Sun Protection for Windows Matters More Than Ever
Sunshine is great until it turns your home into a hotbox. If your house heats up fast in the afternoon, or your air conditioning is always running, your windows might be part of the problem.
Direct sunlight not only makes your rooms uncomfortable but also fades furniture, carpets, and flooring. This is where solar window screens can help. These screens block sunlight before it reaches your windows, helping you keep your home cooler and more energy-efficient.
What Are Solar Screens and How Do They Work?
Solar screens are special window coverings made from tightly woven material that blocks sunlight and heat. Installed on the outside of your windows, they act like a shield that filters out harsh rays before they enter your home.
Unlike blinds or curtains, which work inside, solar screens stop the heat on the outside. They can block up to 90% of UV rays, reduce glare, and even add privacy during the day. You can still see outside, but people can’t see in as easily.
Why Make DIY Solar Screens for Your Home?
Making your own DIY solar window screens is a smart idea for homeowners who like saving money and staying cool.
Here’s why they’re a great choice:
- Save energy – Keep rooms cooler so your AC doesn’t work as hard.
- Protect your home – Block UV rays that damage furniture and flooring.
- Improve comfort – Cut down on glare and heat.
- Affordable – Making screens yourself costs less than replacing windows.
- Privacy – Enjoy your space without closing off your view.
DIY solar screens are a great weekend project that makes a real difference in your home.
Choosing the Right Solar Screen Material
Not all solar screens are the same. The two most common types are:
- 80% weave – Blocks 80% of sunlight. Great for moderate sun exposure.
- 90% weave – Blocks 90% of sunlight. Ideal for rooms with direct sun.
Dark-colored screens reduce glare and improve visibility, while light-colored screens reflect more heat. Choose what works best based on how much sun hits your windows.
Look for durable, weather-resistant fabric made from vinyl-coated polyester or similar materials that will last for years.
Tools & Supplies You’ll Need
To make your own solar screens, gather the following:
- Solar screen fabric
- Screen frame kit (aluminum or vinyl)
- Screen spline (rubber cord)
- Spline roller
- Scissors or a utility knife
- Tape measure
- Frame corners/connectors
- Mounting clips or Velcro
You can purchase many of these as part of a solar screen kit at your local home improvement store or online.
Step-by-Step: How to Make Solar Screens for Windows

Follow these steps to create your own custom solar screens:
Measure Your Window Frame
Measure the height and width of the window where your screen will go. Subtract about 1/8 inch on all sides so the frame fits comfortably.
Cut the Frame
Use a hacksaw or cutting tool to size the frame parts. Insert corner connectors to form the full rectangular frame.
Place the Screen Fabric
Lay the frame on a flat surface. Roll out your solar screen material over the frame, leaving a few inches of extra fabric on all sides.
Install the Spline
Using a spline roller, press the rubber spline into the grooves of the frame to hold the screen tightly in place. Start at one corner and work your way around.
Trim the Edges
Use scissors or a utility knife to carefully cut away any excess screen material.
Mount the Screen
Install your new screen outside your window using screen clips, screws, or Velcro. Make sure it’s tight and covers the entire window.
Measuring and Cutting Tips for the Best Fit
Here are some extra tips to make sure your DIY solar screens come out perfectly:
- Always double-check measurements before cutting anything.
- Cut the screen fabric about 1–2 inches larger than the frame for a secure fit.
- Use a sharp blade to avoid tearing or fraying the fabric.
- Work on a flat, steady surface to keep the frame square and even.
Taking your time here will save frustration and help the screen last longer.
How to Install Solar Screens on Your Windows
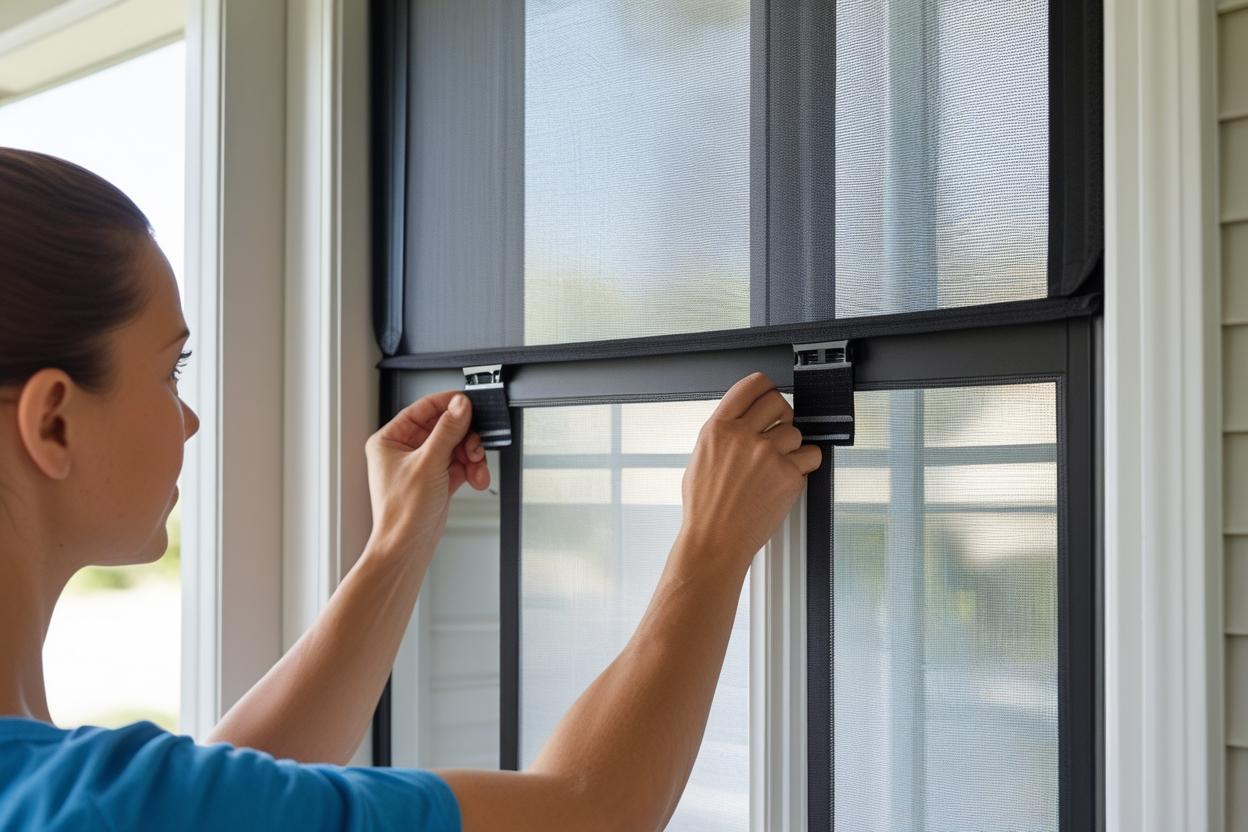
Once your screen is ready, installing it is easy:
- Position the screen: outside your window frame.
- Attach using clips or Velcro: If your windows have metal or wood frames, small mounting clips work best. For temporary or renter-friendly installs, heavy-duty Velcro is a great alternative.
- Test the fit: Make sure the screen is flush and doesn’t wiggle or leave gaps.
If your screen fits well, it should block sunlight immediately and look clean and professional.
Avoid These Common Mistakes
It’s easy to make small errors that can affect your solar screen’s performance. Here are a few mistakes to avoid:
- Wrong measurements – Always double-check to prevent a poor fit.
- Loose spline – If the screen sags, it won’t block sun effectively.
- Cheap material – Low-quality screens may fade, tear, or warp over time.
- Incorrect installation –If the screen isn’t tight to the frame, sunlight can sneak through the edges.
By avoiding these, you’ll have solar screens that work better and last longer.
Why Homeowners in Crystal Lake, IL Trust American Window & Siding.
If you’re in Crystal Lake, IL and looking to upgrade your home’s energy efficiency, American Window & Siding. is your go-to partner. We’ve helped hundreds of local homeowners stay cool and save money with professional solar screen installations and DIY kits.
Whether you’re doing it yourself or want expert help, our team is here to provide trusted advice, durable materials, and excellent customer service.
We know the local weather, understand what homes in this area need, and always put quality first.
DIY or Ready-Made? Choosing What’s Right for You
Still deciding between making your own or buying pre-made solar screens? Here’s a quick comparison: If you enjoy DIY projects and want to save money, building your own is a great choice. But if you prefer convenience and perfect results, let the pros at American Window & Siding. handle it for you.

CONCLUSION:
Learning how to make solar screens for windows is a great way to stay cool, protect your home, and lower your energy bills. Whether you’re a seasoned DIYer or just getting started, this project is simple, cost-effective, and incredibly rewarding.
If you’re in the Crystal Lake area and want support, materials, or professional installation, trust the team at American Window & Siding. to get the job done right. We’re here to help your home stay cooler, smarter, and more comfortable every season.